In this tutorial, we will learn how to do a CV. For this we will use Word, the word processor of the office suite. The good news is that Word offers ready-made templates which are excellent and allow us to save time on the format and therefore concentrate on the content.
Table of Contents
Open Word
Let’s start Word right away by double clicking on it. Word is part of the Office suite. We will use for Word 365 for the demo.
To launch Word, or any other application, simply double click on it.

word logo
When you open Word, you are presented with a home page
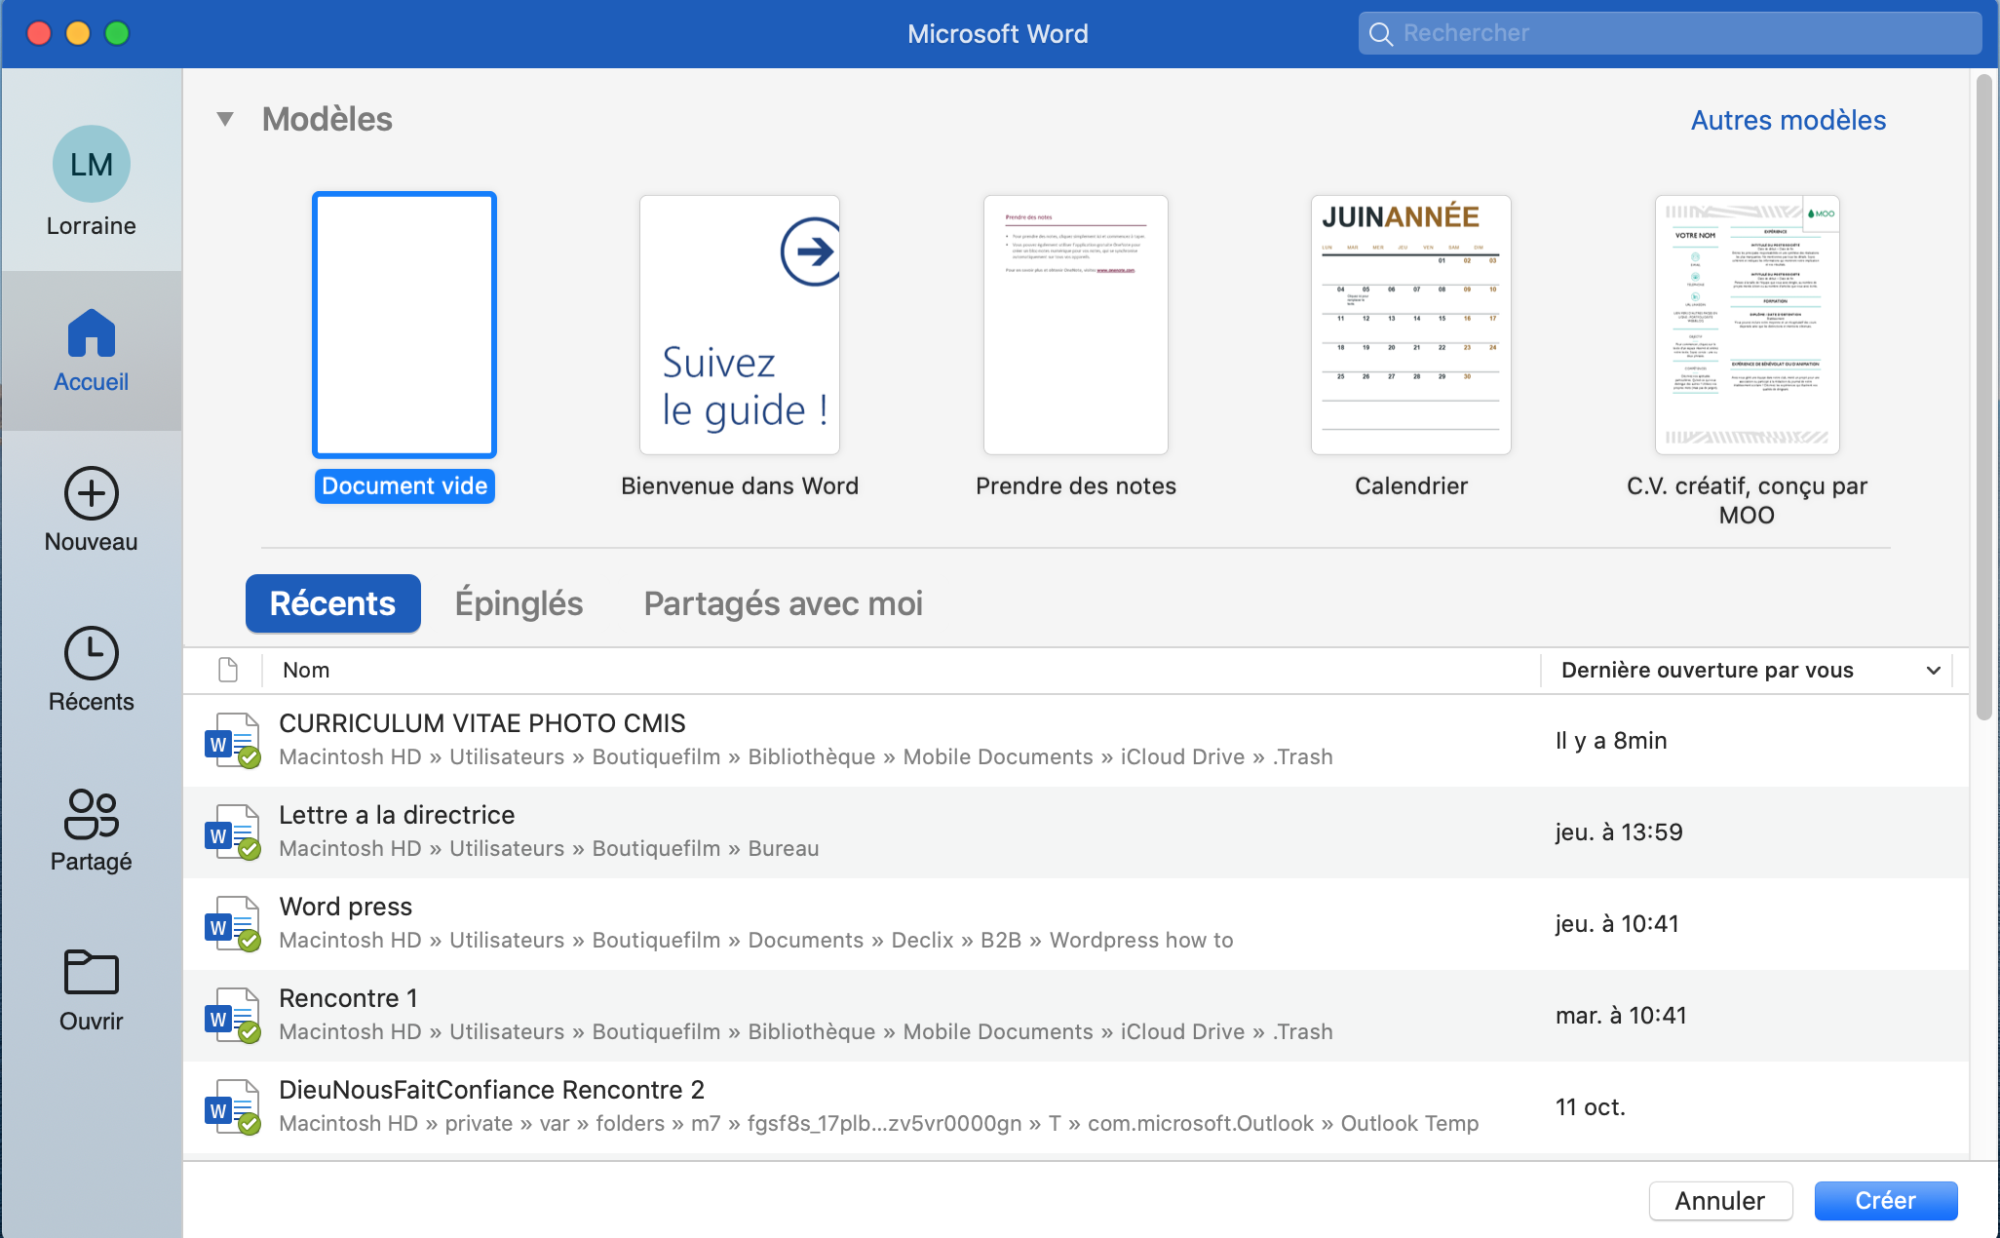
Word home page
From here you can either:
- Open an empty document.
- Open recent files. These are files that have been recently opened.
- Or New in the left side menu.
New
By clicking on new (left sidebar), you can access many document templates. We have for example, calendars, brochures, menus, cover letters and of course CVs. These templates are perfect for making a CV.
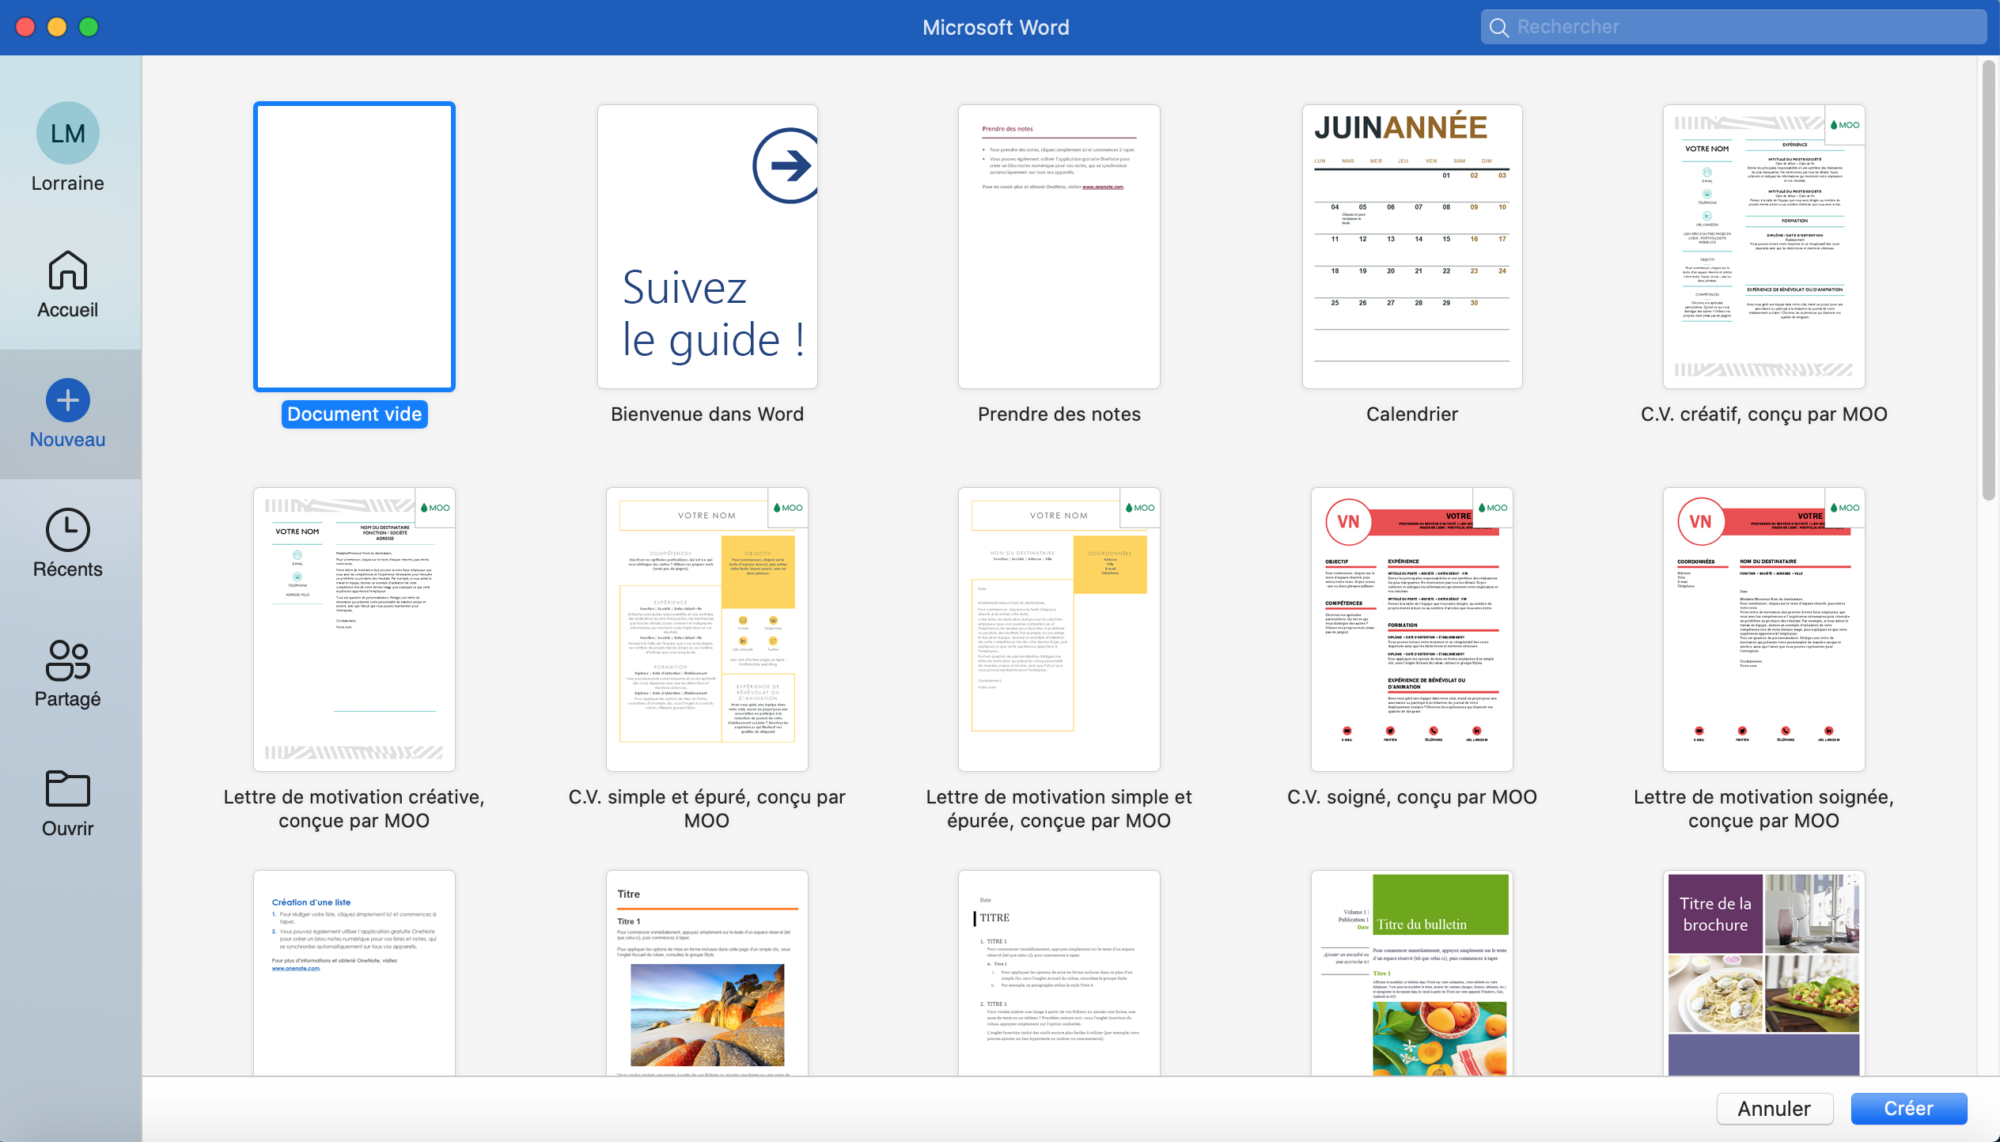
new templates
In the top right-hand corner, you can search more precisely for the template you want. In our case, we are looking for CVs. So by typing CV in the search menu (top right) you automatically filter the content.

CV Search
You can choose any CV that best suits your identity. In this example, we will use the ‘Simple, clean CV, designed by MOO’ template.
CV template
Once you have selected your CV template, simply double click on it to open it.
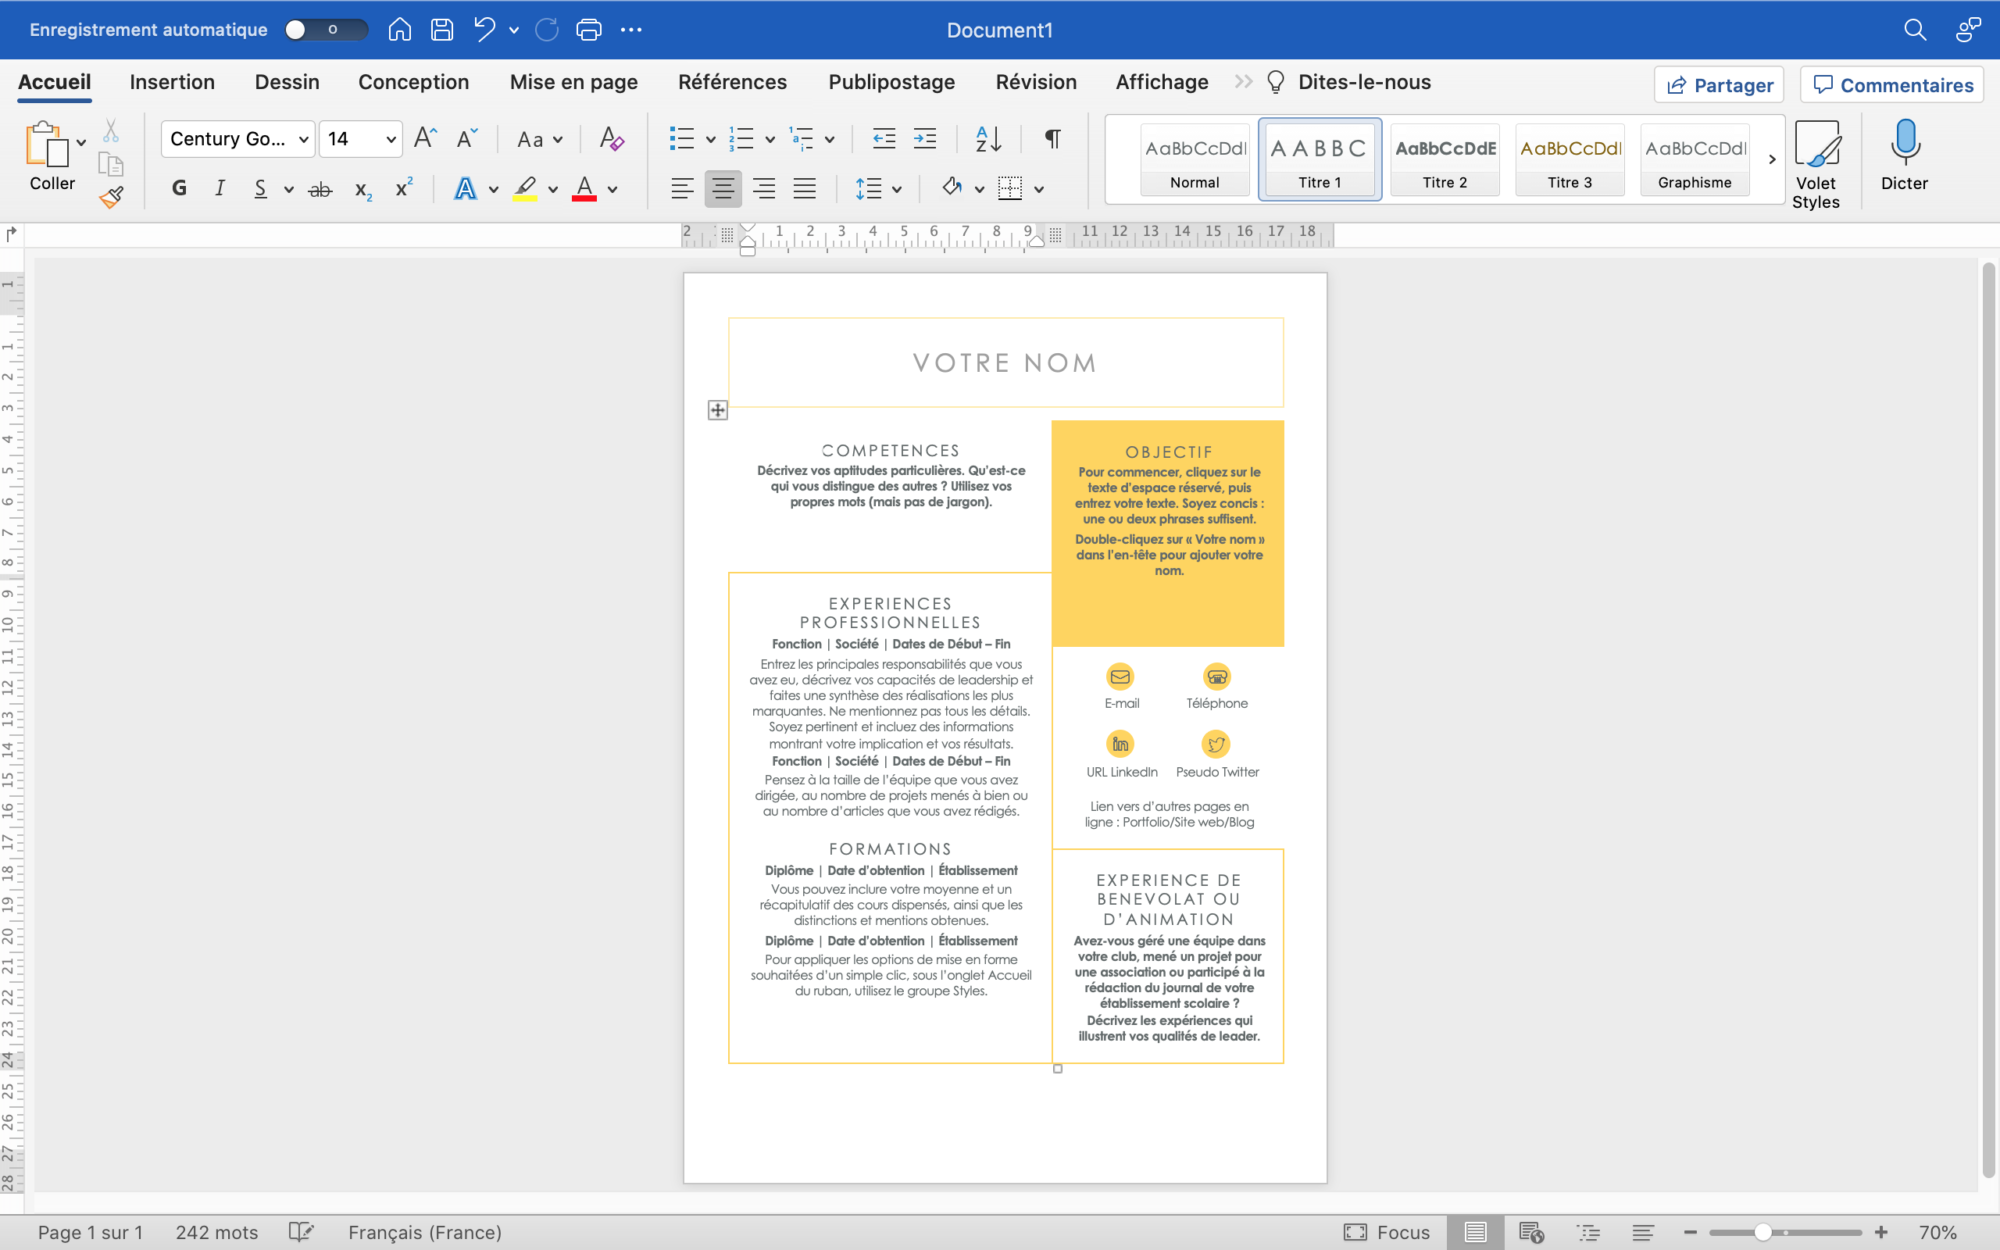
CV Mood
Insert your content (to do a CV)
The template only represents the structure. Now you have to fill in the content with your biography.
Simply double click on the content you wish to modify.

Modify the content

content modified
You can fully adapt this structure to your life experience. You can add as many lines as you like about your education, experience or passions.
Don’t forget to add the information that makes you different, for example: your language skills, interests, passions and so on. To do this, just add them afterwards using the pre-defined template.
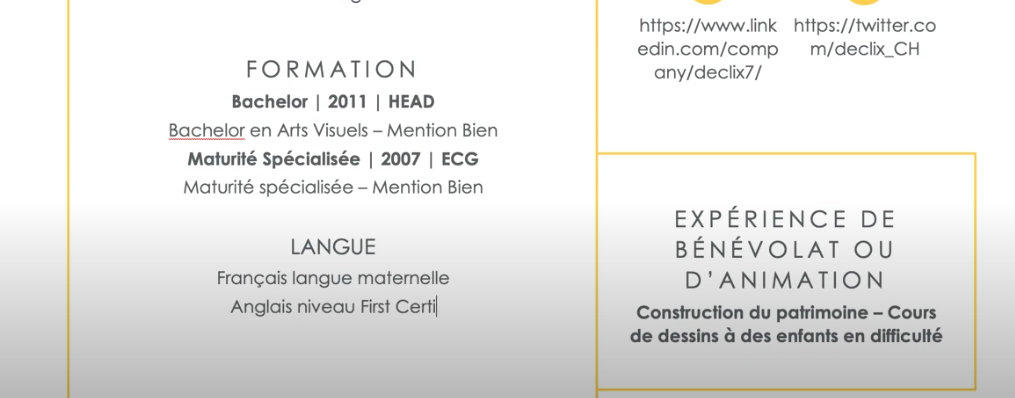
add content
Your CV is done and it wasn’t too difficult. Now let’s find out how to personalise it a bit.
Personalise your CV
Insert a photo
To give your CV a bit of character, the first thing to do is to insert a photo. Indeed it is very important for an employer to be able to represent you. To insert a photo, position your cursor where you want to insert it by clicking on the precise spot. Then choose in the top menu “Insert” > Images and then > either: Image from a file… / Online images… / Photo browser… etc.

Insert a photo
In this example we will choose “Image from file…” as our profile picture has been stored in a file. Simply navigate to the file where the photo is located, select it and then click on insert
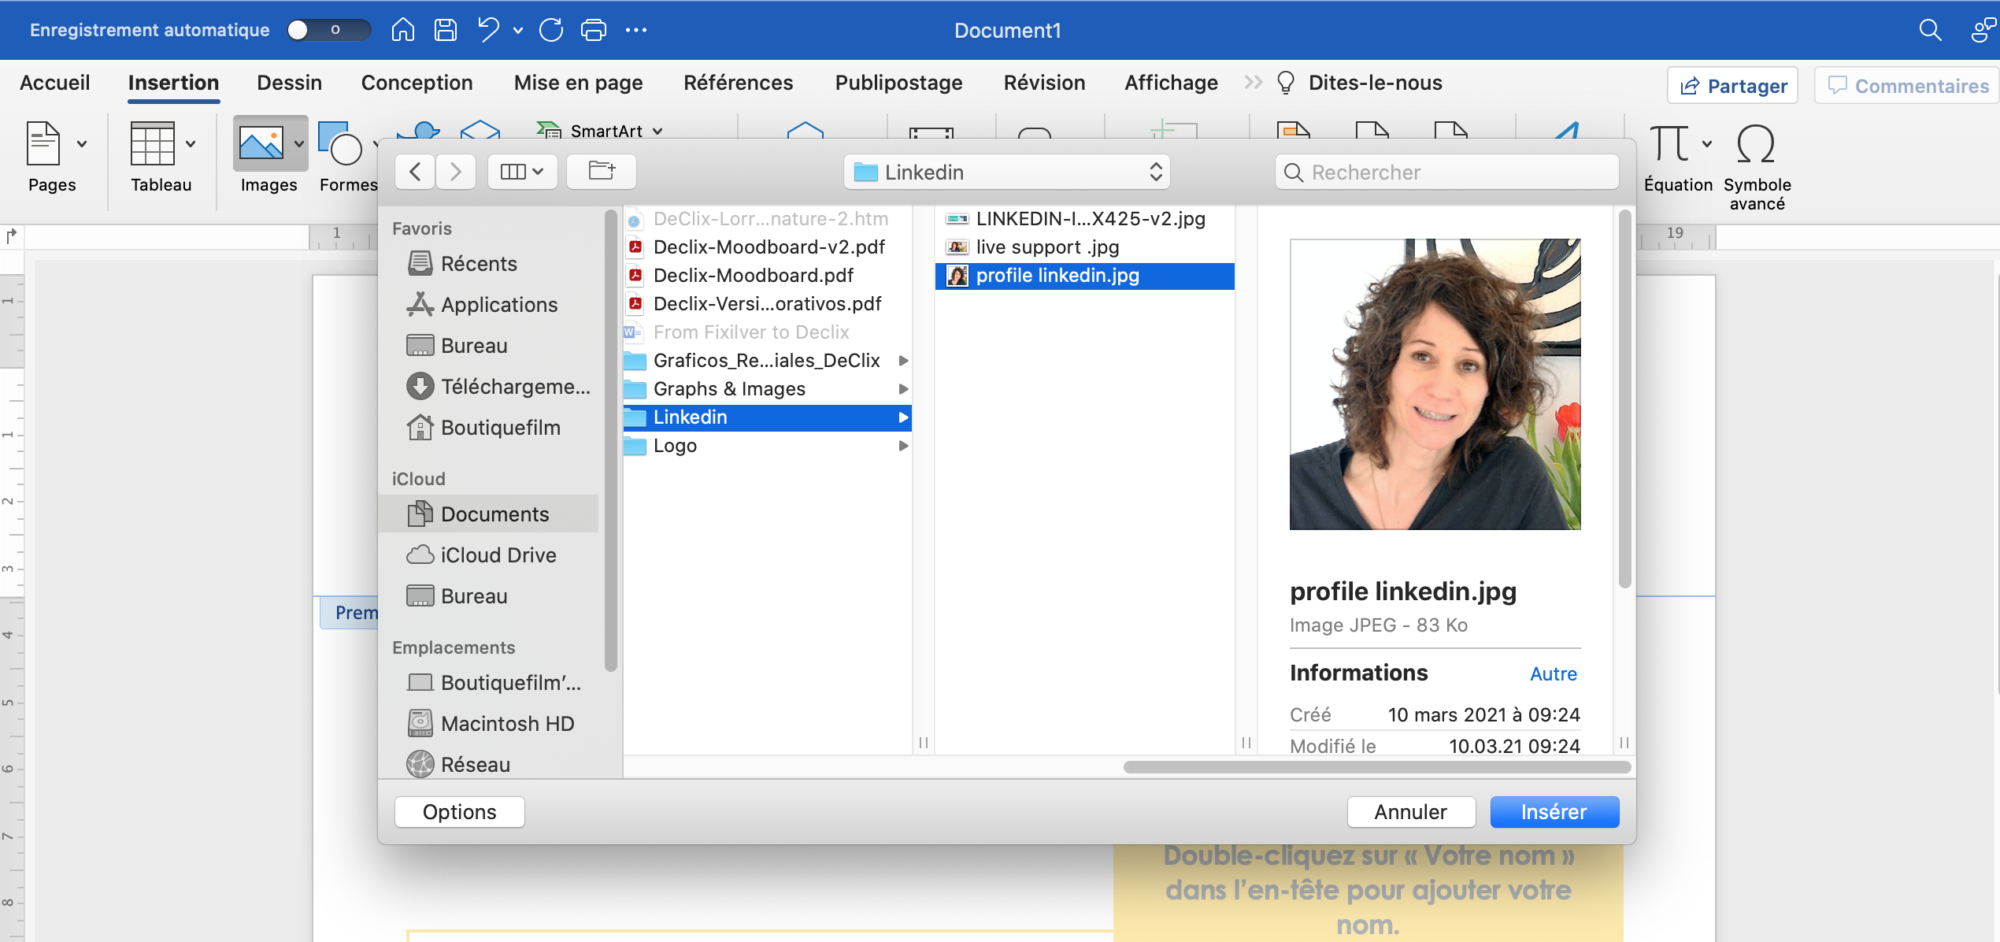
Insert photo
Once you have inserted the photo, you need to adjust its size so that it fits exactly where you want it. To do this, simply click in one of the corners of the image, hold the pressure and move the cursor until you have the desired format.
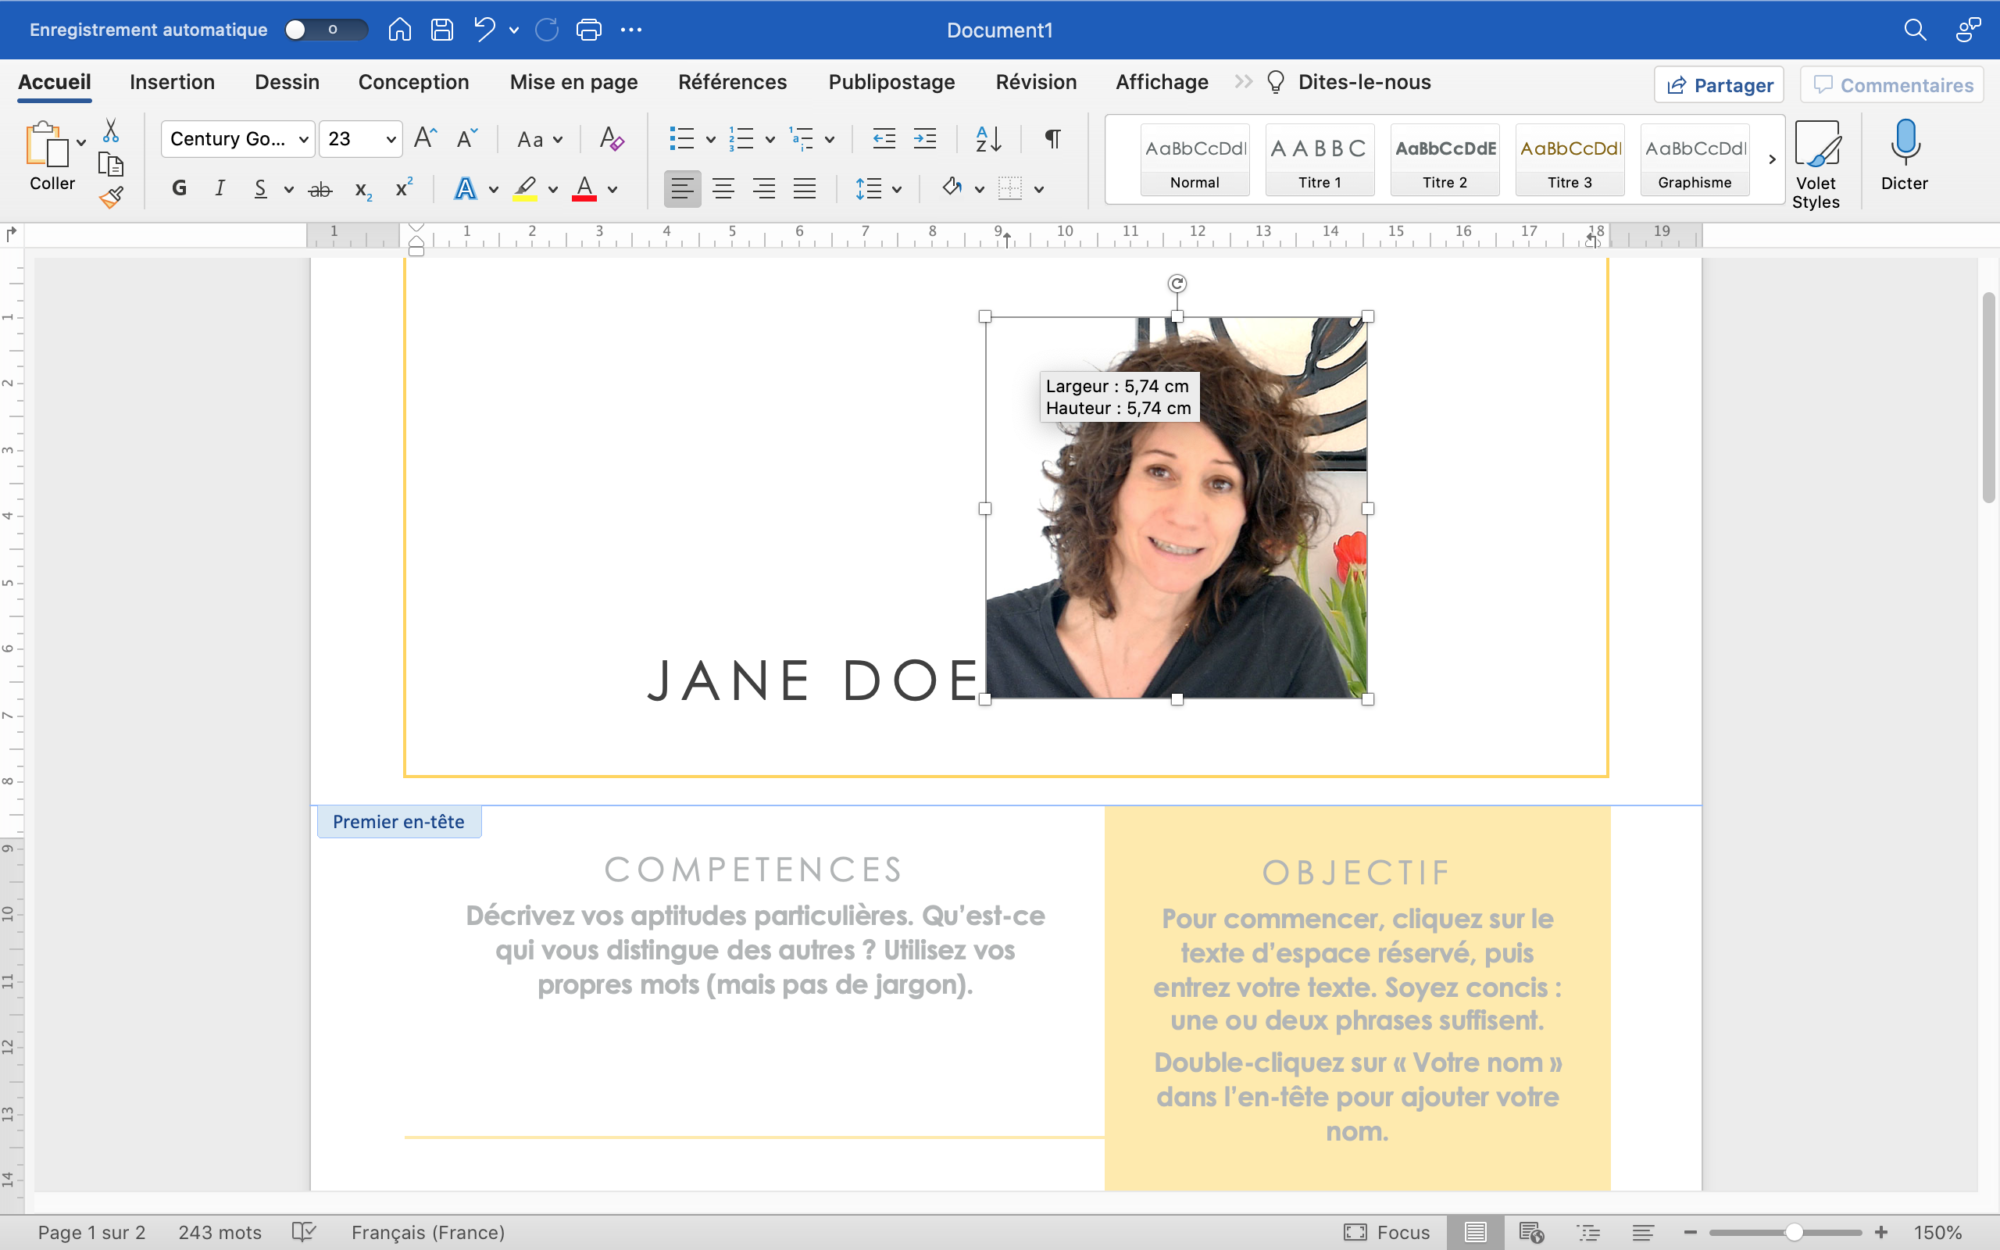
Photo placement
Change the colour scheme
You can also change the colour scheme completely. To do this, go to: Design – Colours and choose the colour scheme that best suits your personality.
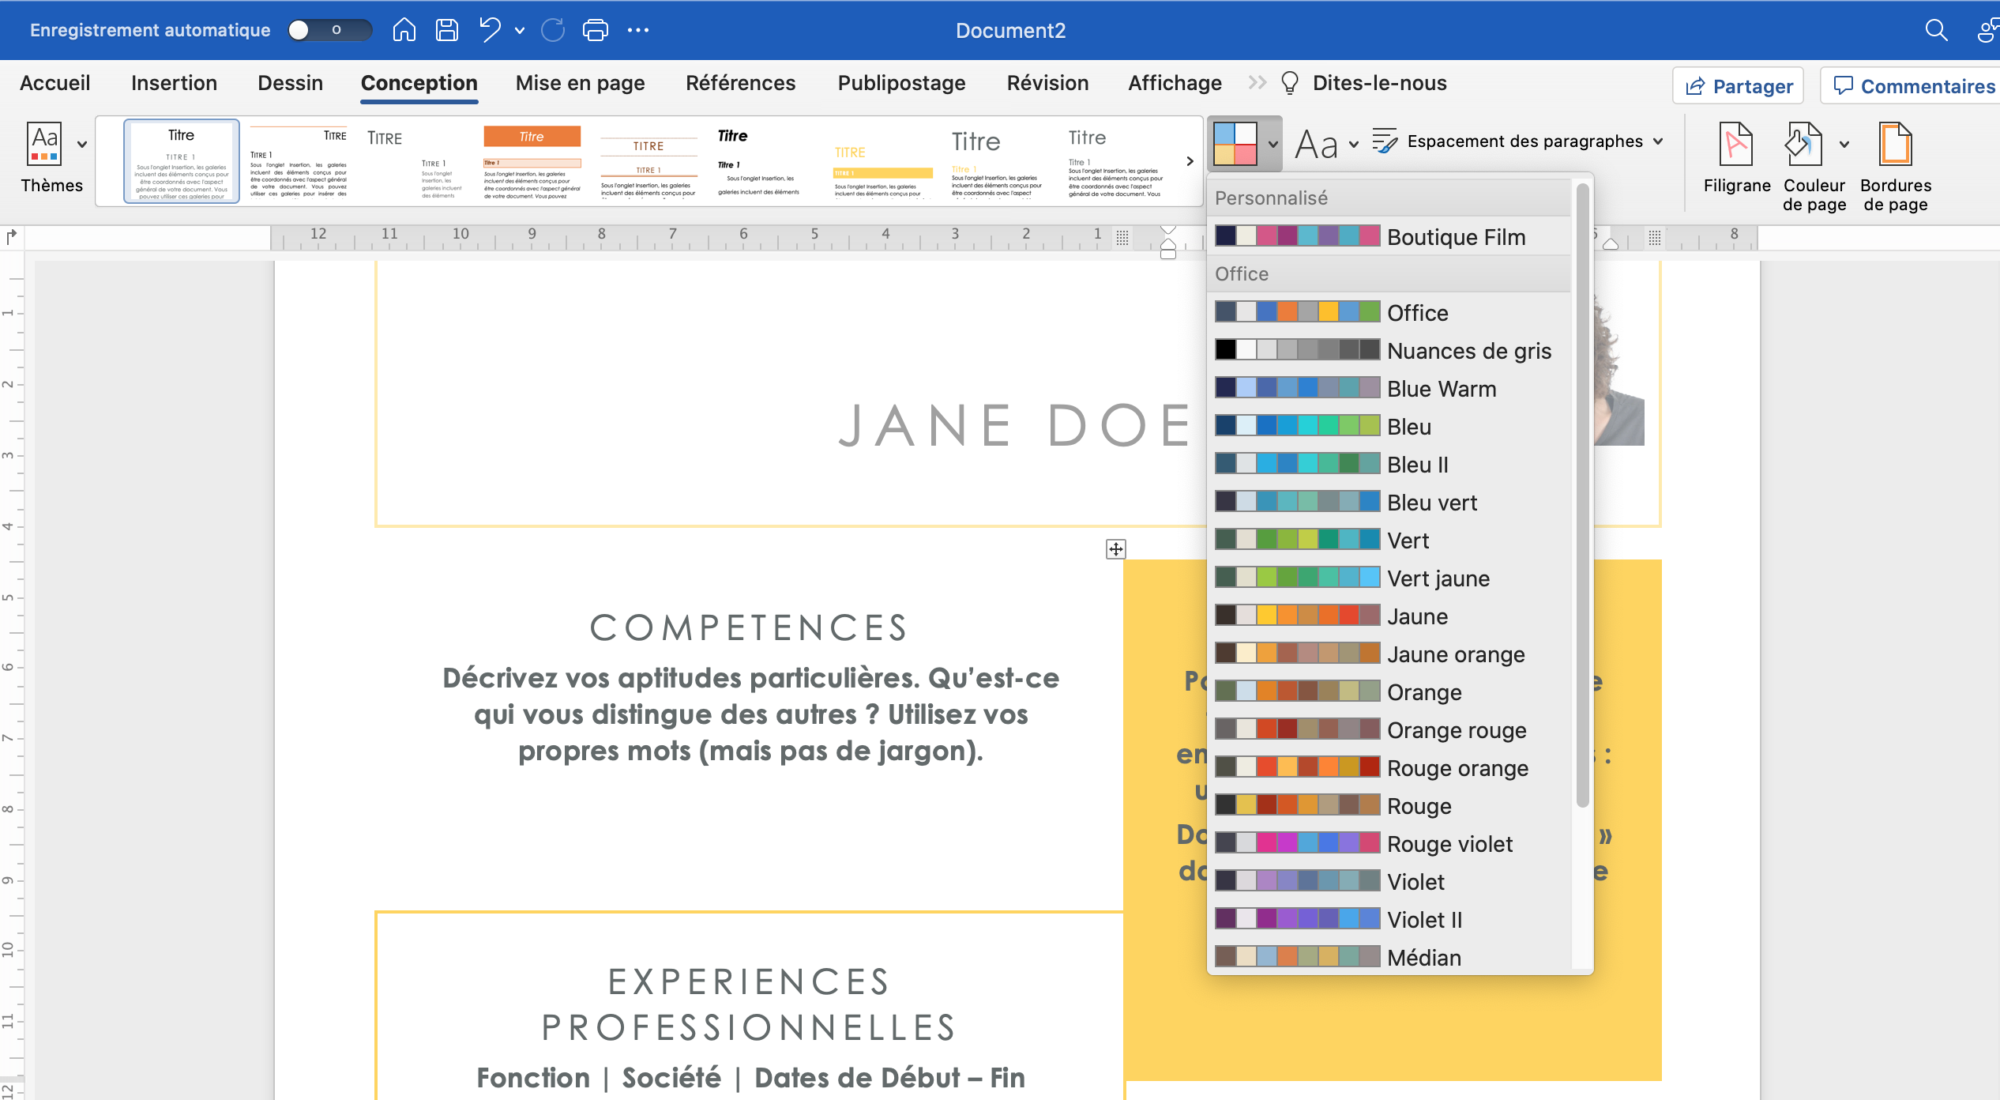
colour scheme
***
As you can see, to do a CV is not really rocket science. We hope we have been able to help you. But please do not hesitate to contact us if you have any questions. If you want to learn how to save your file as a pdf, click the link.


